Viber
Start receiving and sending messages using the popular messaging app, Viber.
Viber allows you to configure a business account that you can use to send and receive messages to and from users
- The required steps to configure the Viber messages source
- How to connect your Viber account to Airy
Configuration
To get started with Viber we will complete the following steps
- Step 1: Registration
- Step 2: Editing of the yaml file in Airy Core
- Step 3: Connecting the channel
- Step 4: Send and receive a test message
Let's proceed step by step.
Step 1: Registration
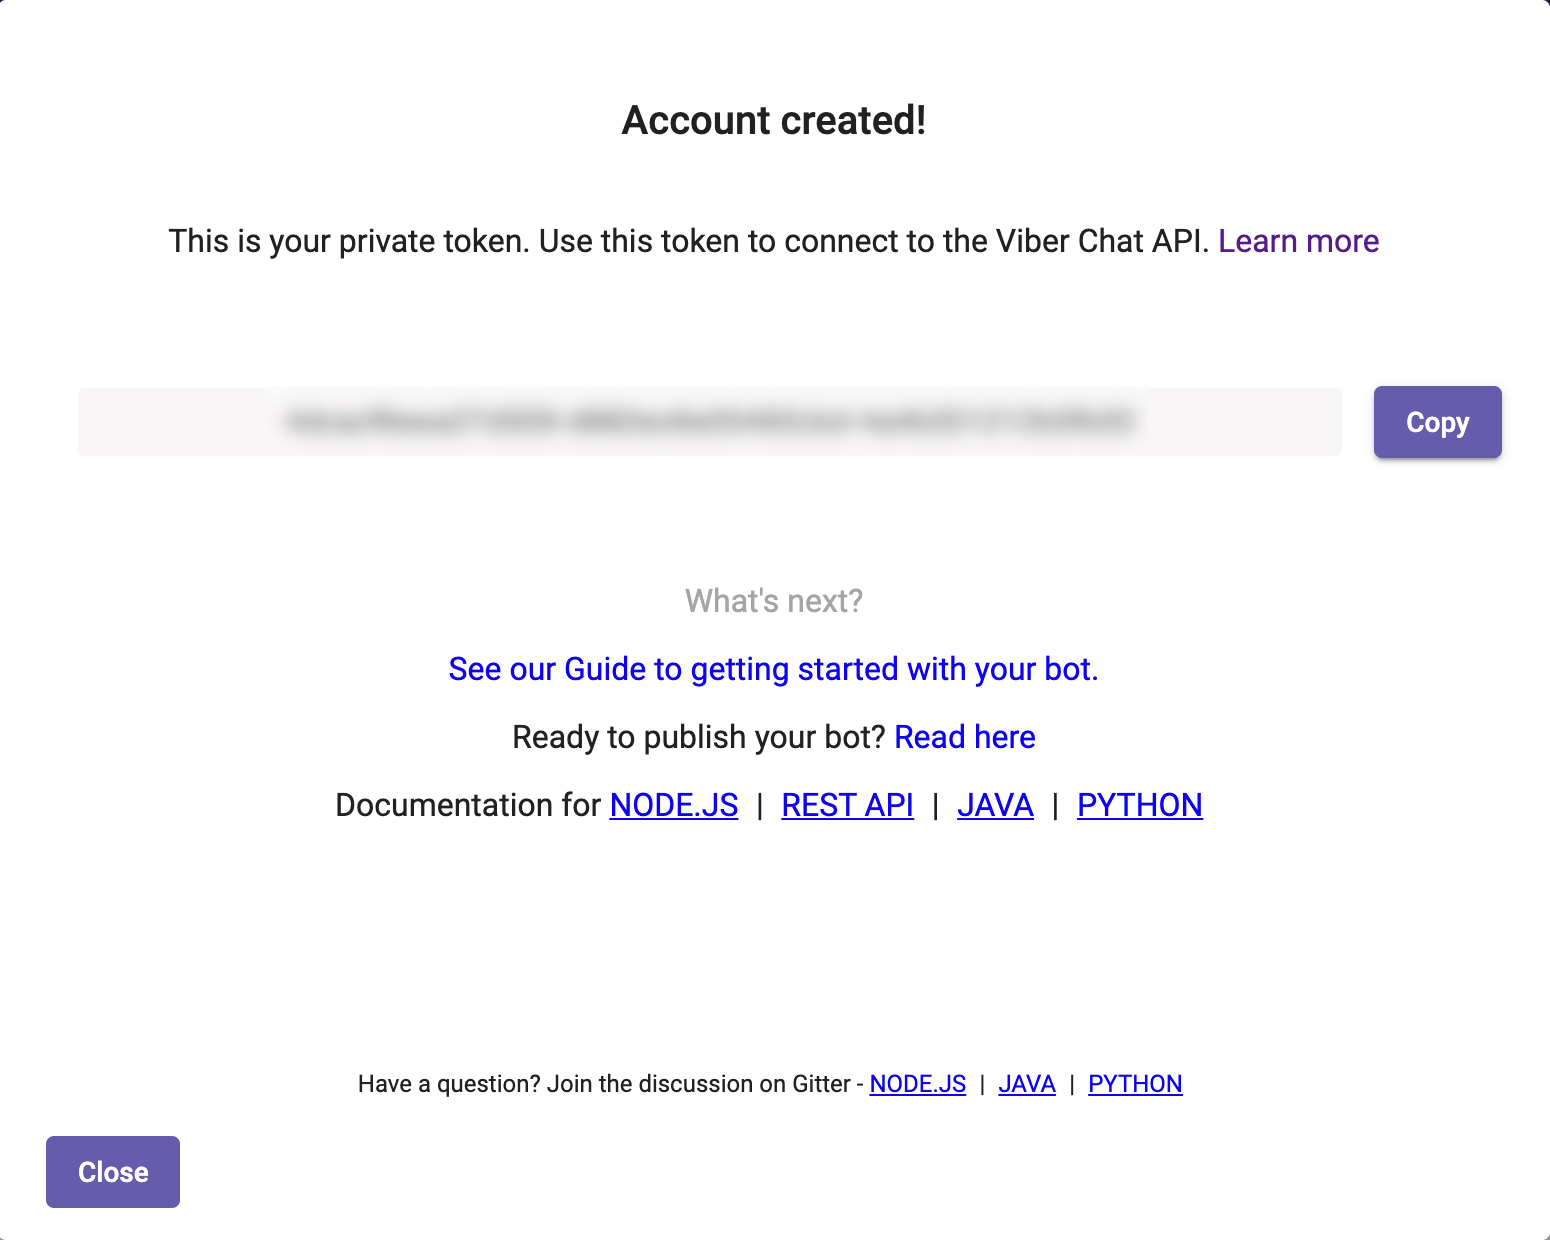
First you need a Viber bot account. You can register one by clicking on this link and filling out the required form. At the end of the process you will be presented with your authentication token. Copy it for the next step.
Step 2: Updating the Airy config file
Add a section for viber in your airy.yaml under components > sources. Add your authentication token so that your file looks like so:
components:
  sources:
    viber:
      authToken: "<your viber authentication token>"
Now run the airy config apply command and viber is ready to use.
Step 3: Connecting the channel
The next step is to send a request to the Channels endpoint to connect Viber to your instance.
Channels endpoint
Connect a Viber source to your Airy Core instance through the Channels endpoint
Connects your viber account to Airy.
POST /channels.viber.connect
name(optional) overwrite the Viber account nameimage_url(optional) overwrite the Viber account image
{
  "name": "My custom name for this location", // optional
  "image_url": "https://example.com/custom-image.jpg" // optional
}
Sample response
{
  "id": "channel-uuid-1",
  "metadata": {"name": "My custom name for this location", "image_url": "https://example.com/custom-image.jpg"},
  "source": "viber",
  "source_channel_id": "Viber account id"
}
Step 4: Send and receive a test message
Find your bot on Viber and send it a message. The message should show up in your Airy Inbox. Now the conversation is created and you are ready to reply using the ui or the Messages endpoint.
Messages endpoint
Send messages to your Airy Core instance from different sources through the Messages endpoint
Sending a text message
{
  "conversation_id": "a688d36c-a85e-44af-bc02-4248c2c97622",
  "message": {
    "text": "Hello World",
    "type": "text"
  }
}
Sending a picture
{
  "conversation_id": "a688d36c-a85e-44af-bc02-4248c2c97622",
  "message": {
    "type": "picture",
    "text": "Photo description",
    "media": "http://www.images.com/img.jpg",
    "thumbnail": "http://www.images.com/thumb.jpg"
  }
}
Sending a video
{
  "conversation_id": "a688d36c-a85e-44af-bc02-4248c2c97622",
  "message": {
    "type": "video",
    "media": "http://www.images.com/video.mp4",
    "thumbnail": "http://www.images.com/thumb.jpg",
    "size": 10000,
    "duration": 10
  }
}
Sending a file
{
  "conversation_id": "a688d36c-a85e-44af-bc02-4248c2c97622",
  "message": {
    "type": "file",
    "media": "http://www.images.com/file.doc",
    "size": 10000,
    "file_name": "name_of_file.doc"
  }
}
Sharing a contact
{
  "conversation_id": "a688d36c-a85e-44af-bc02-4248c2c97622",
  "message": {
    "type": "contact",
    "contact": {
      "name": "Itamar",
      "phone_number": "+972511123123"
    }
  }
}
Sharing a location
{
  "conversation_id": "a688d36c-a85e-44af-bc02-4248c2c97622",
  "message": {
    "type": "location",
    "location": {
      "lat": "37.7898",
      "lon": "-122.3942"
    }
  }
}
Sending a URL
{
  "conversation_id": "a688d36c-a85e-44af-bc02-4248c2c97622",
  "message": {
    "type": "url",
    "media": "http://www.website.com/go_here"
  }
}