Google’s Business Messages
Start receiving and sending messages from Google Maps & Google Search.
Google's Business Messages source provides a channel of communication between your Google Business Location and your running instance of Airy Core.
- The required steps to configure Google's Business Messages source
- How to connect a Google Business Location to Airy Core
The Google's Business Messages source is not enabled by default.
You need to add configuration in your airy.yaml file and apply it to activate it.
Configuration
Google's Business Messages requires the following configuration:
Let's proceed step by step.
Step 1: Registration
You first need to be registered with Google's Business Messages before configuring this source. Refer to Google's Business Messages guides to find more information about this source and the registration process.
Step 2: Editing of the yaml file in Airy Core
Once you are registered, head over to your Google Service Account and create a key in json format.

Copy the Google Service Account key file provided by Google to
your airy.yaml file as a one line string next to saFile: (below components/sources/google).
Step 3: Verification by Google
As a security measure, every request sent by Google is signed and verified
against your partner key. You must also set the value for partnerKey: to your partner key,
in your airy.yaml file, below components/sources/google.
Refer to the Configuration Docs on how to input these values.
Your Google Webhook URL should have the following format:
https://your-public-fqdn/google
or if you are using Ngrok:
https://RANDOM_STRING.tunnel.airy.co/google
Once the verification process has been completed, Google's Business Messages will immediately start sending events to your Airy Core instance 🎉
Step 4: Connect Google's Business Messages to your Airy Core instance
There are 2 options to connect this connector's channel to your instance:
- you can send an API request (using curl or an API platform such as Postman)
- you can use the Control Center UI to connect and manage the channel in just a few clicks
We cover both options in this section.
Connect Google's Business Messages via API request
After the configuration, you can connect a Google's Business Messages channel to your instance by sending a request to the Channels endpoint.
Channels endpoint
Connect Google's Business Messages source to your Airy Core instance through the Channels endpoint
Connects a Google Business Account to Airy Core.
POST /channels.google.connect
gbm_idis the ID of your Google Business Message agentnameis the custom name for the connected businessimage_urlis the custom image URL
{
  "gbm_id": "gbm-id",
  "name": "My custom name for this location",
  "image_url": "https://example.com/custom-image.jpg" // optional
}
Sample response
{
  "id": "channel-uuid-1",
  "metadata": {"name": "My custom name for this location", "image_url": "https://example.com/custom-image.jpg"},
  "source": "google",
  "source_channel_id": "gbm-id"
}
Connect Google's Business Messages via the UI
You can also connect a Google's Business Messages channel via your Airy Core instance Control Center UI.
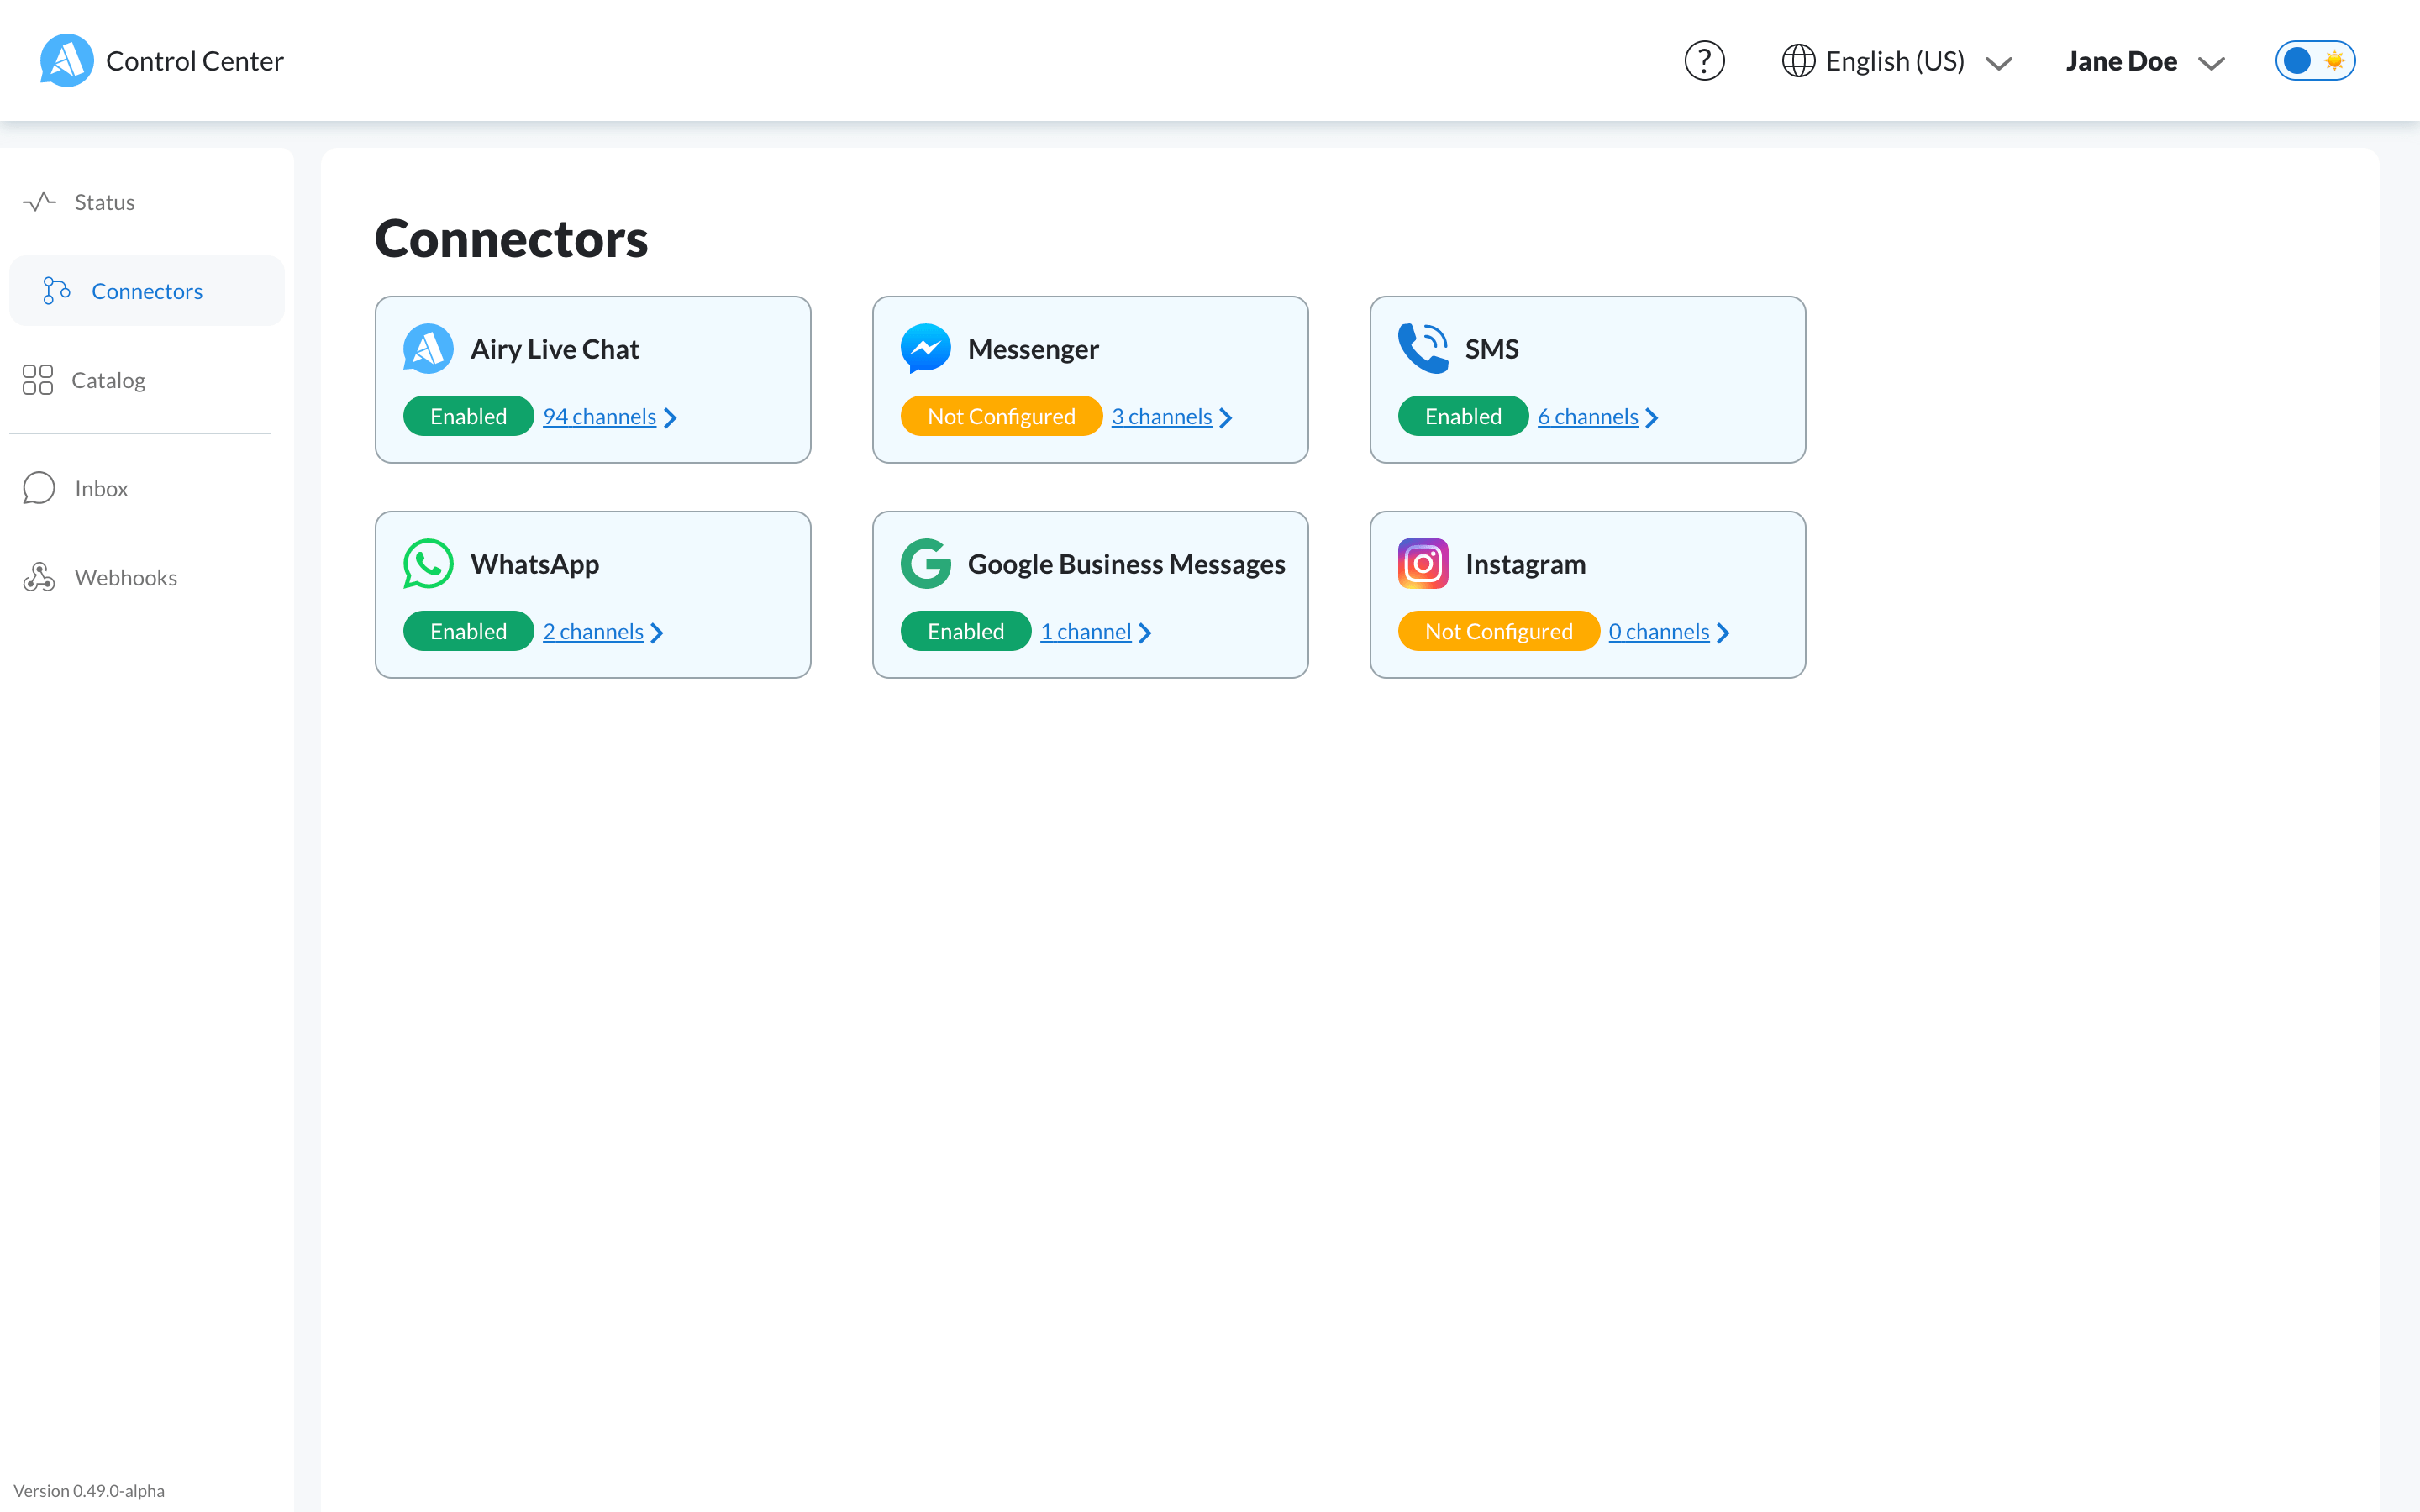
On your instance's Control Center, click on 'Catalog' on the left sidebar menu and select 'Google Business Messages'.
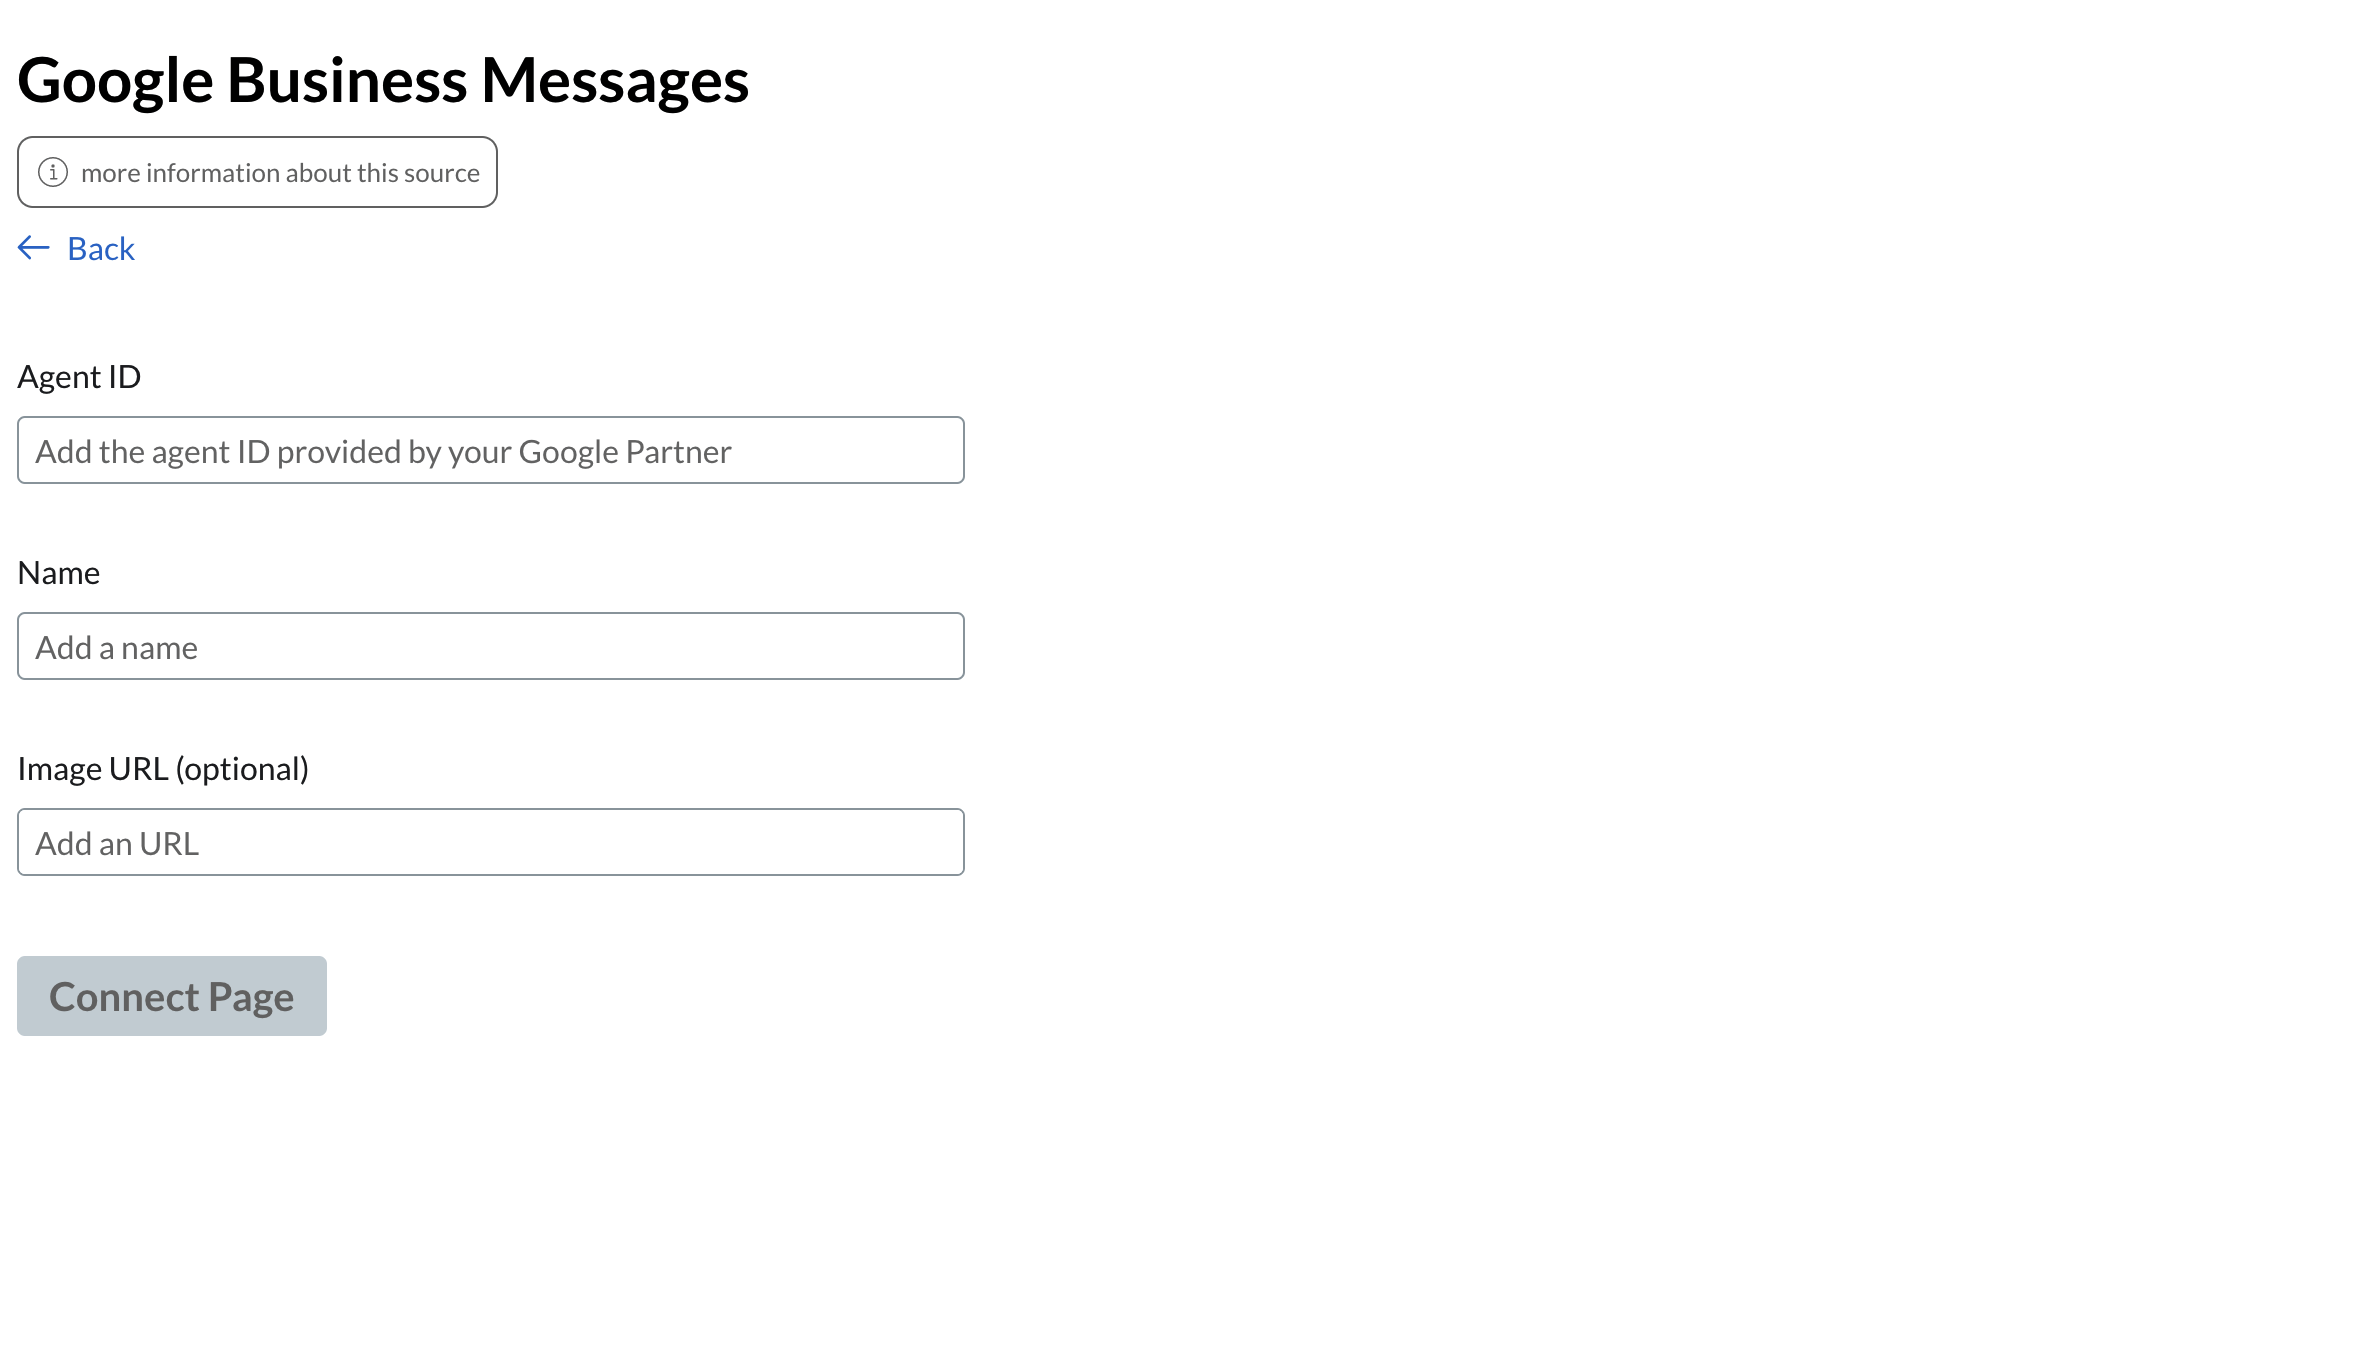
This will open a page with a form.

Add your Agent ID and Name. You can optionally add an image URL, which will be used as the conversation's icon in the Inbox UI's messenger. A fallback image will be used if you do not enter a valid image URL.
Upon successful connection, Google's Business Messages will appear as connected in the Connectors page in your app's Control Center.
You can edit its configuration at any time by selecting 'Google Business Messages' in the list.

Step 5: Send messages from a Google's Business Messages channel
After connecting the source to your instance, you will be able to send messages through the Messages endpoint.
Note that when you send a message from this source, you must specify a representative, the individual or automation that composed the message.
Google's Business Messages supports "BOT" and "HUMAN" as the representativeType. Find more information on Google's Business Messages guide.
Whatever is put on the message field will be forwarded "as-is" to the source's message endpoint.
Sending a text message
{
  conversation_id: "a688d36c-a85e-44af-bc02-4248c2c97622",
  message: {
    text: "Hello!",
    representative: {
      representativeType: "HUMAN"
    }
  }
}
Sample response
{
  "id": "{UUID}",
  "content": {
    "text": "Hello!",
    "representative": {
      "representativeType": "HUMAN"
    }
  },
  "delivery_state": "pending|failed|delivered",
  // See glossary
  "from_contact": "true|false",
  //'yyyy-MM-dd'T'HH:mm:ss.SSSZ' date in UTC form, to be localized by clients
  "sent_at": "{string}",
  "source": "google",
  // metadata object of the message
  "metadata": {
    "sentFrom": "iPhone"
  },
  // details about the sender
  "sender": {
    "id": "github:12345", // For unauthenticated instances this defaults to "airy-core-anonymous"
    "name": "John Doe", // optional
    "avatar_url": "http://example.org/avatar.png" // optional
  }
}