Quickstart
In this Quickstart we are setting up our first source, listen to conversations, and consume directly from Kafka
We are going to use Airy's Live Chat Plugin as our first source. We then use the plugin to send messages, and check them out in the Inbox UI, your terminal and directly in Apache Kafka.
Airy's Live Chat Plugin can be connected both through API request (using curl or platforms such as Postman) and the Control Center UI. This document covers both options.
- Step 1: Set up your first source
- Step 2: Send messages via the Chat Plugin
- Step 3: Use the HTTP API to list conversations
- Step 4: Consume directly from Apache Kafka
Did you already install the Airy CLI?
To get going with the Quickstart, you must install Airy first. Once the CLI is up and running you are good to go.
Step 1: Set up your first source
There are 2 options to connect this connector's channel to your instance:
- you can send an API request (using curl or an API platform such as Postman)
- you can use the Control Center UI to connect and manage the channel in just a few clicks
We cover both options in this section.
Connect Airy Live Chat Plugin via API request
You can use curl or a platform such as Postman to send a request to the Channels endpoint.
Channels endpoint
Connect an Airy Live Chat Plugin channel to your Airy Core instance through the Channels endpoint
Connects a Chat Plugin source to Airy Core.
POST /channels.chatplugin.connect
nameis a unique identifier of your choice.
{
  "name": "website-identifier-42",
  "image_url": "http://example.org/plugin_icon.jpeg" // optional
}
Sample response
{
  "id": "1f679227-76c2-4302-bb12-703b2adb0f66",
  "source": "chatplugin",
  "source_channel_id": "website-identifier-42",
  "metadata": {
    "name": "website-identifier-42",
    "image_url": "http://example.org/plugin_icon.jpeg" // optional
  },
  "connected": true
}
curl -H "Content-Type: application/json" -d \
"{
    \"name\": \"chat plugin source\"
}" http://localhost/channels.chatplugin.connect

The ID from the response is the channel_id. It is required for
the next steps, so note it down.
Connect Airy Live Chat Plugin via the UI
Alternatively, you can connect Airy's Live Chat Plugin channel via the Control Center UI.
On your instance's Control Center, click on the 'Catalog' icon on the left sidebar menu and select 'Airy Live Chat'.
This will open a page with a form.

You can optionally add a name and an image. The display name will be used as the conversation's name while the image URL will be used as its icon in the Inbox UI's messenger. A fallback image will be used if you do not enter a valid image URL.
Next, click on the 'Save' button.
Upon successful connection, Airy Live Chat Plugin will appear as connected in the Connectors page in the Control Center UI.
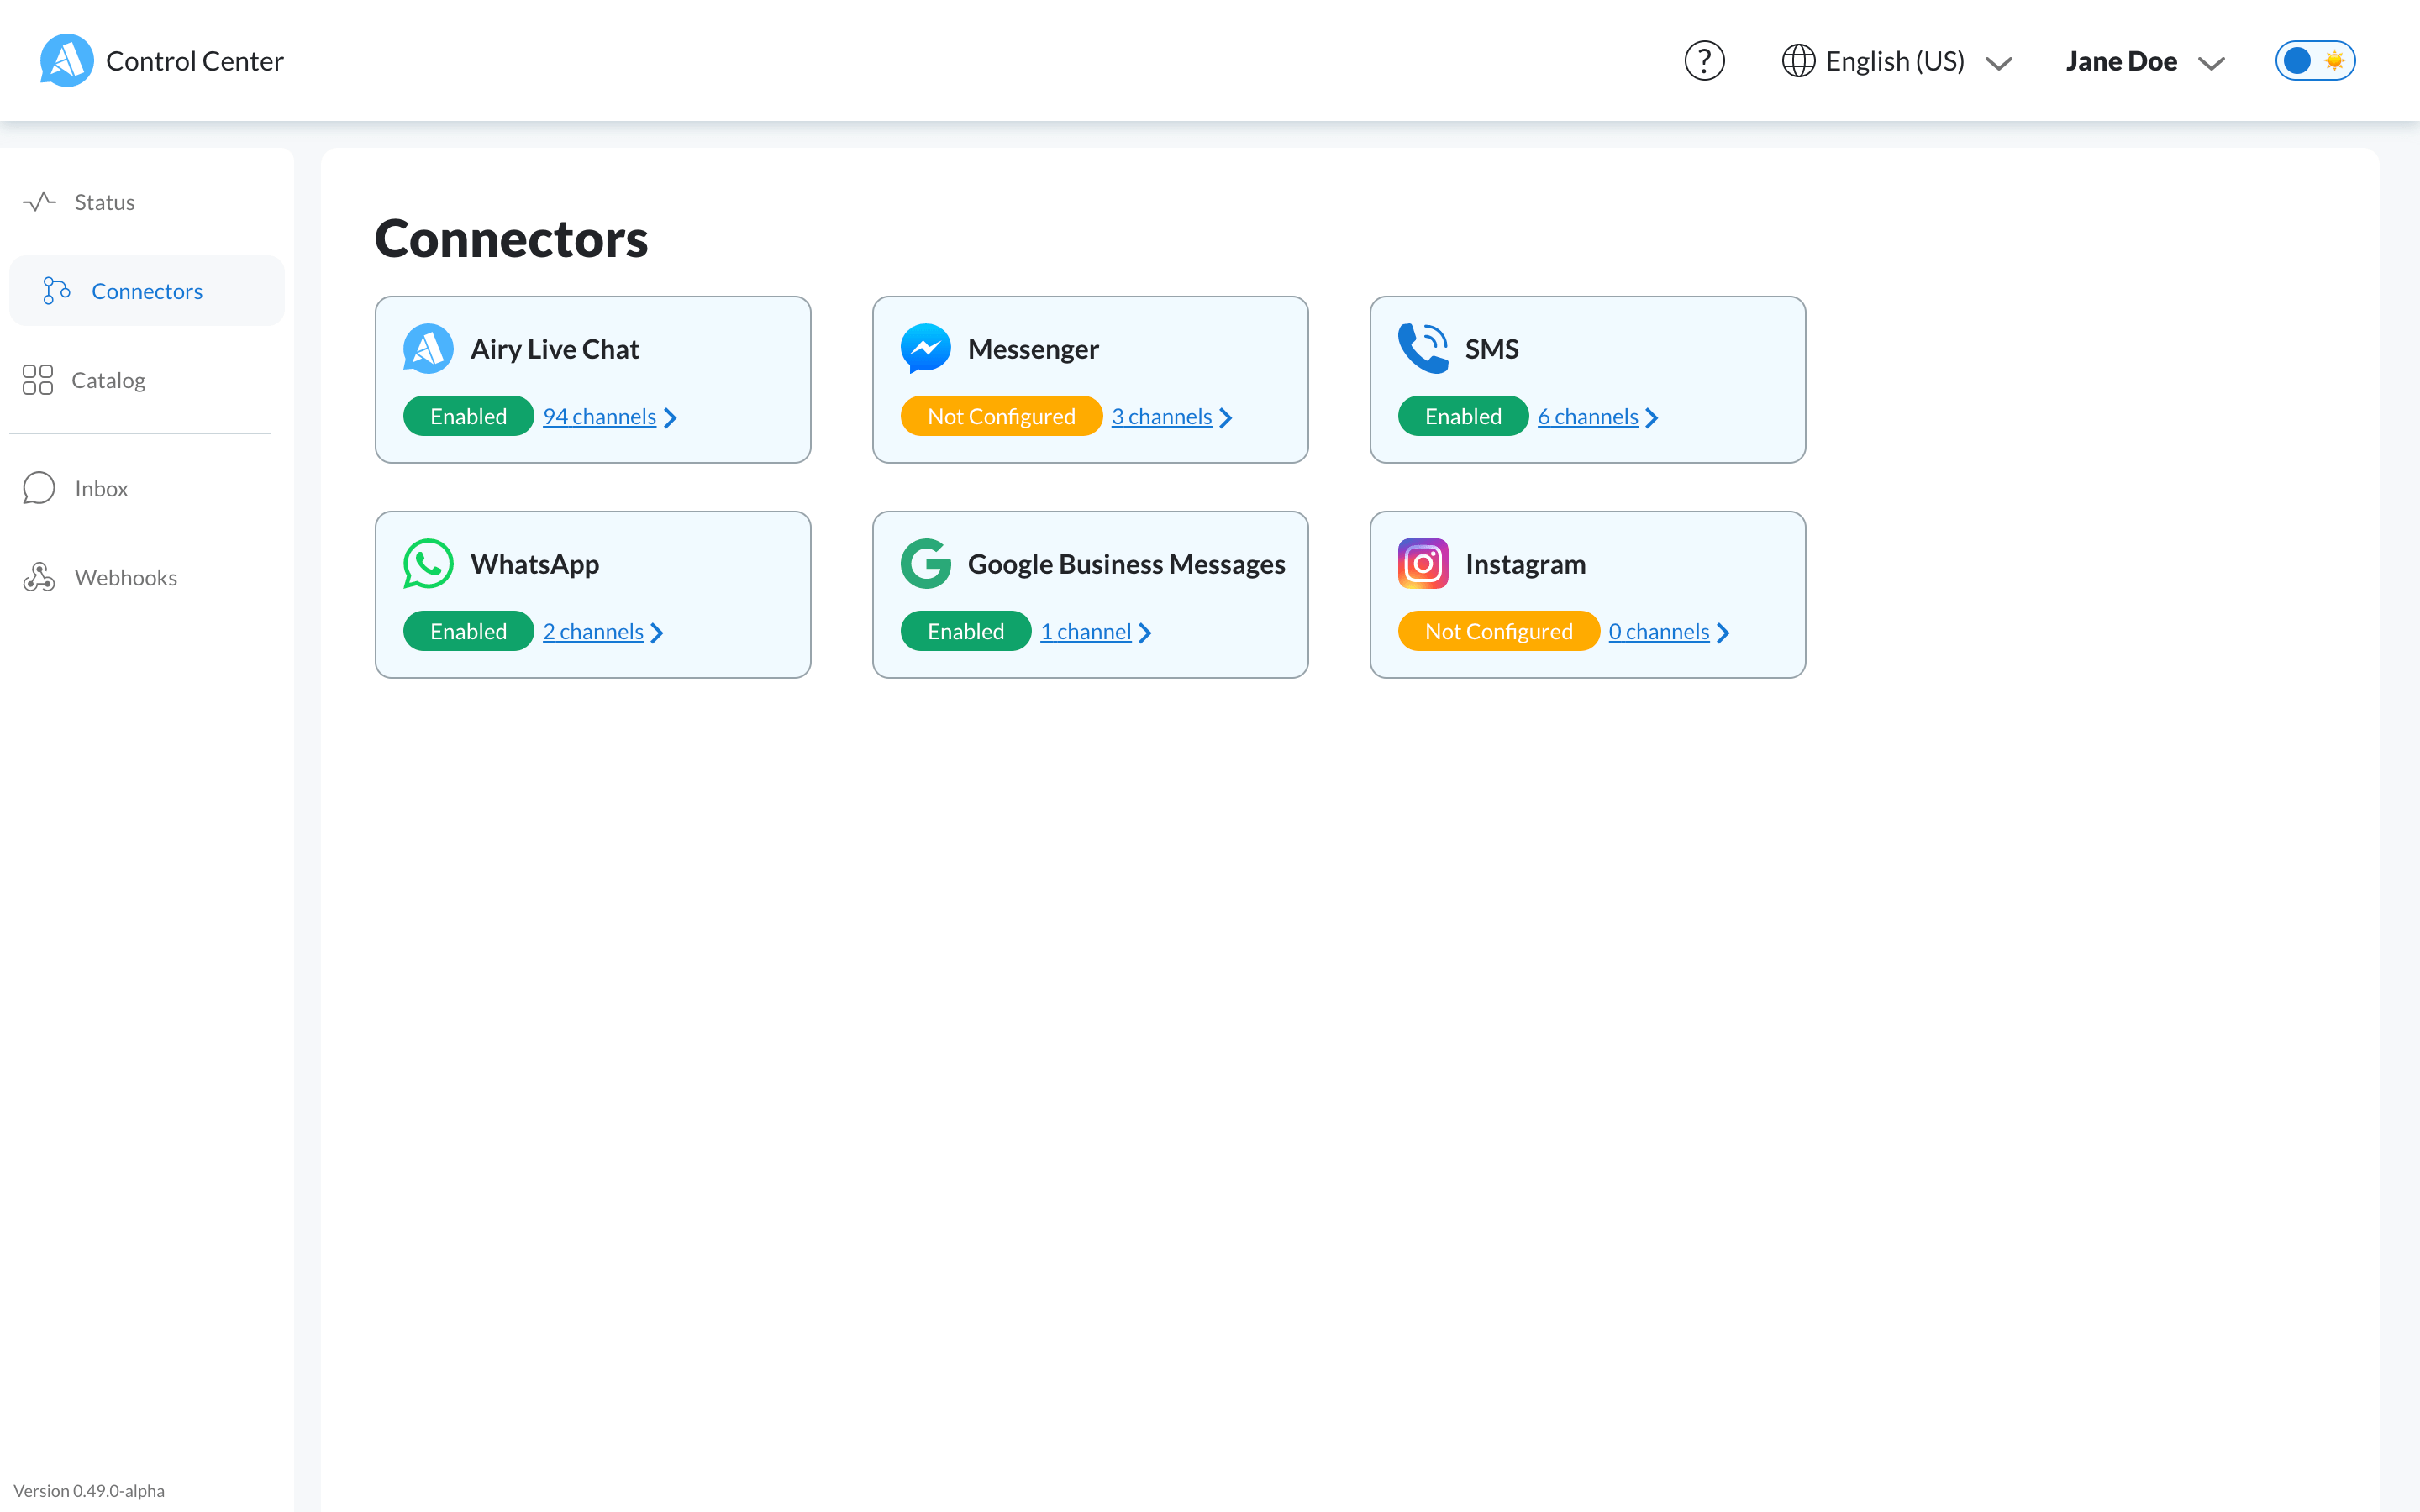
On the Connectors page, select 'Airy Live Chat'.
This will bring you to a page where you can edit or disconnect all Airy Live Chat Plugin channels that have been connected.

Select the channel you just connected and click on 'Edit'.
This will bring you to a page where you can manage the installation and settings of the channel.
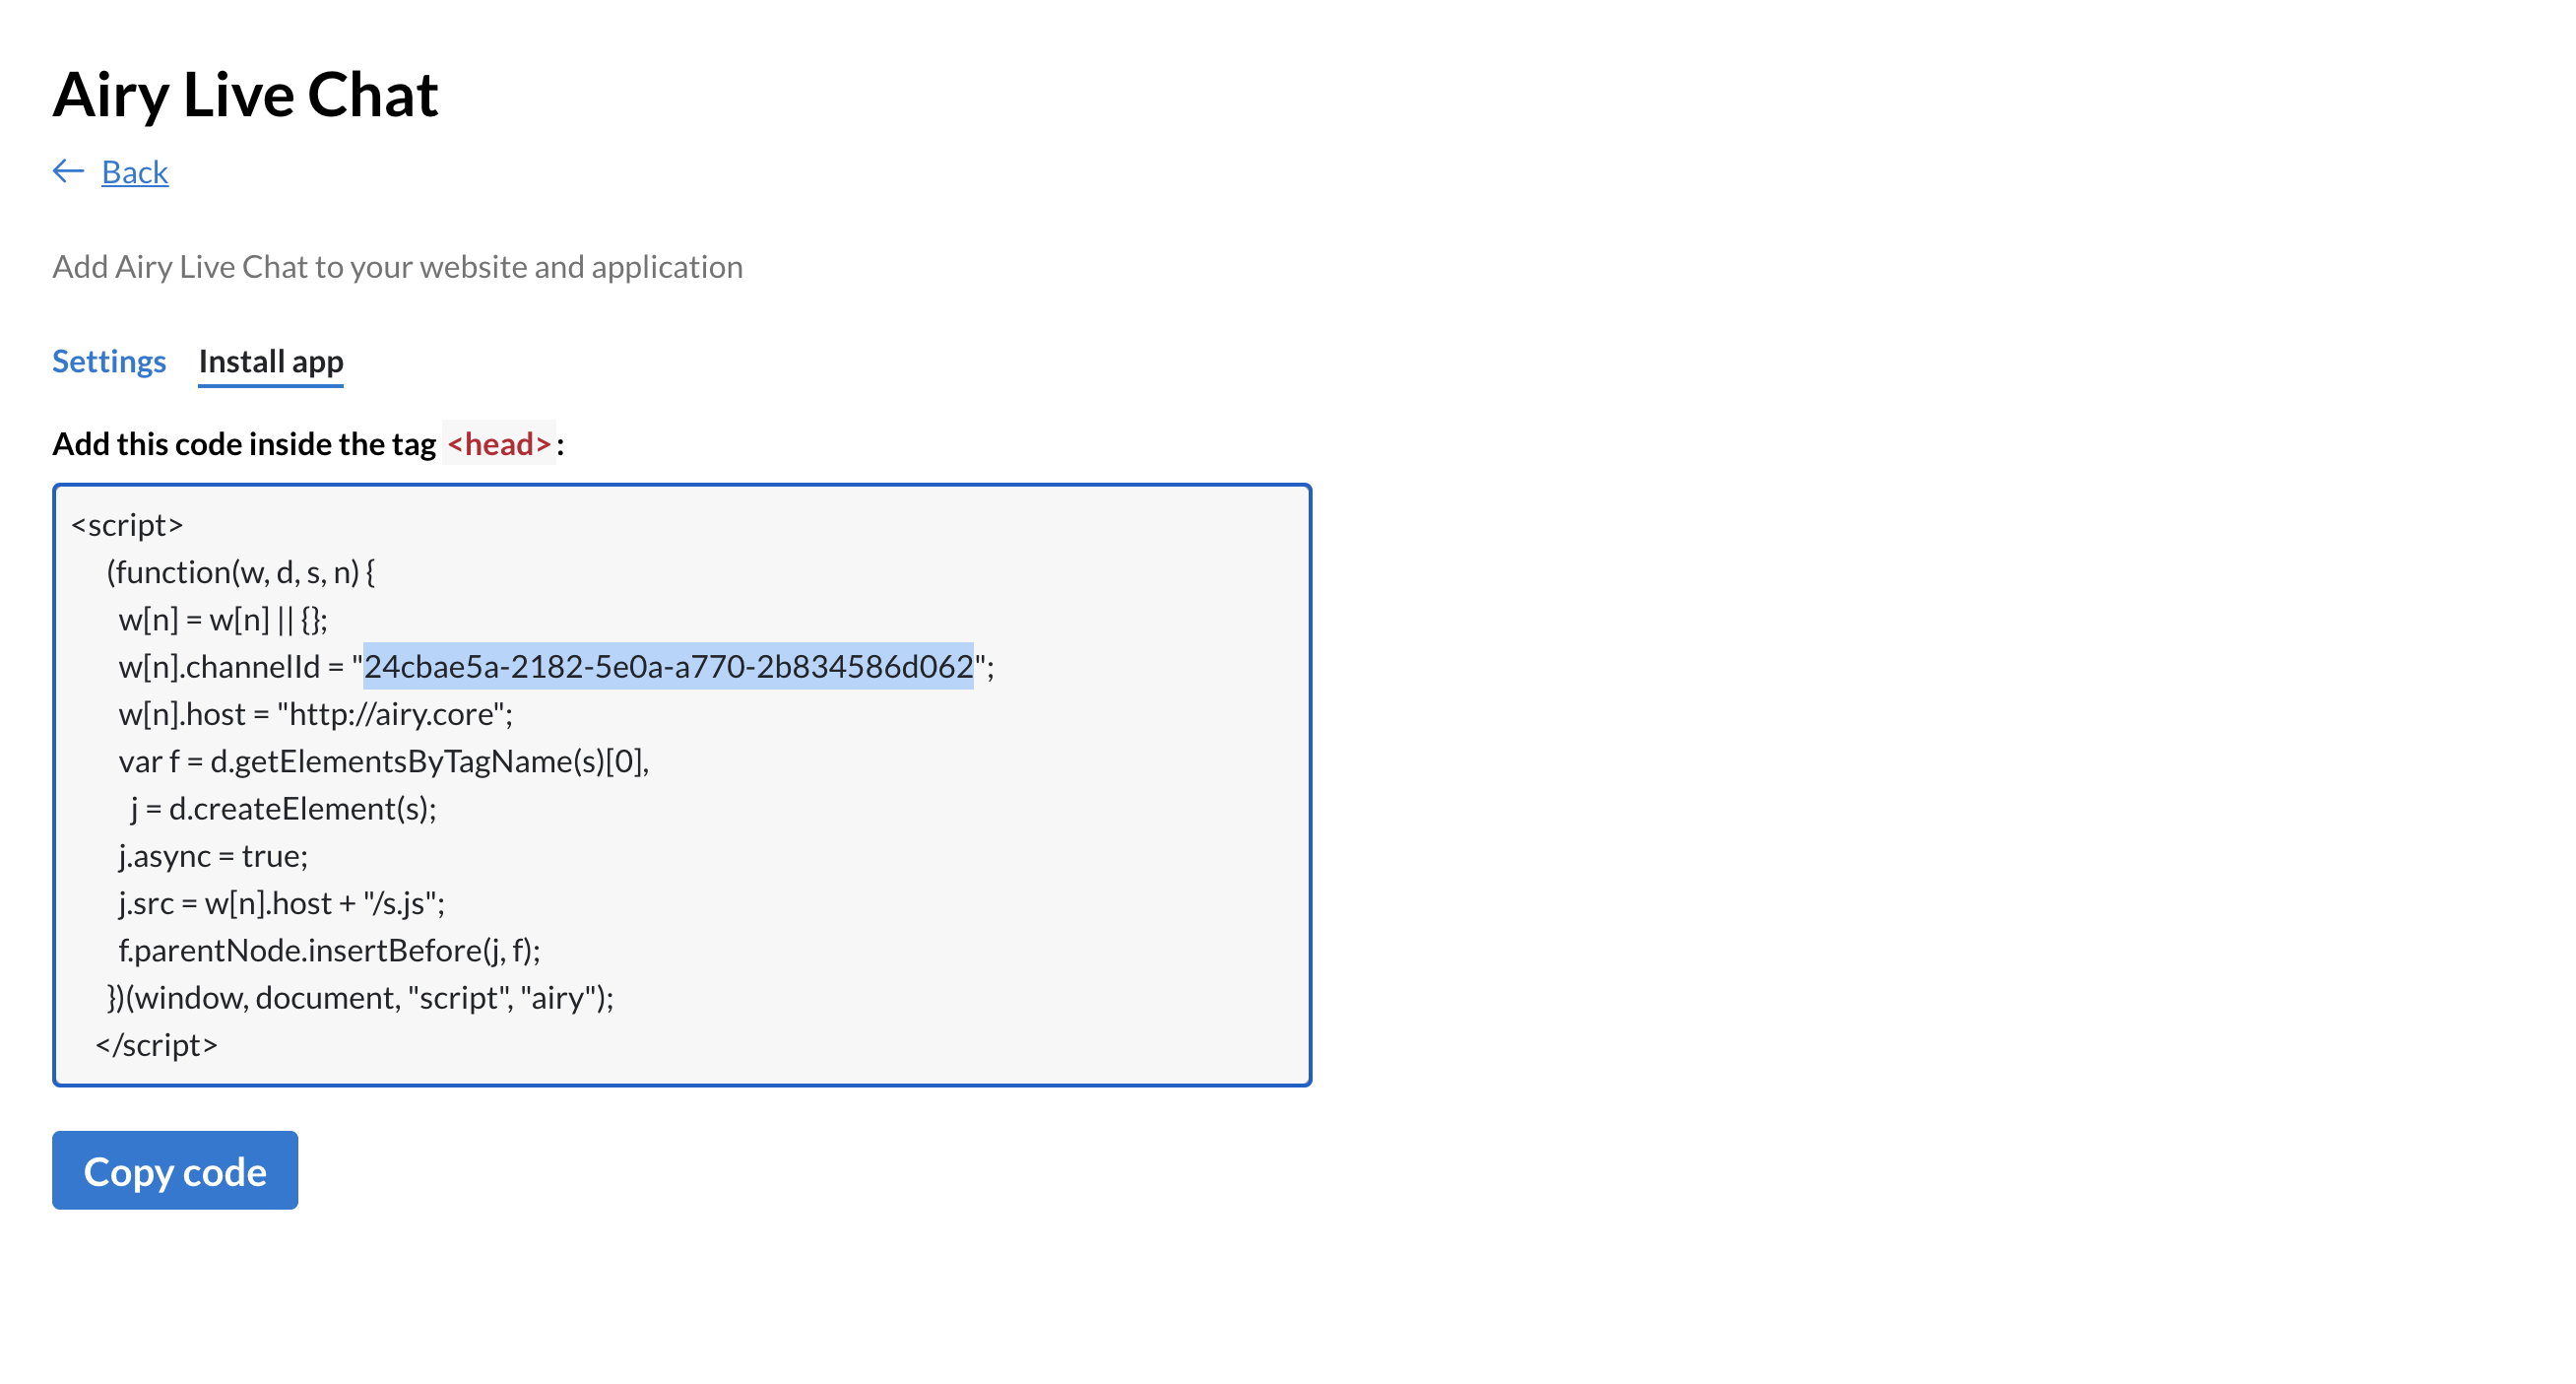
Click on the 'Install app' tab. Here you will find the channel_id, which is located in the sample code (highlighted in the screenshot above). It is required for the next steps, so note it down.
Step 2: Send messages via the Chat Plugin
Pass the channel_id as a query parameter when opening the demo page in your
browser. This authenticates the chat plugin and enables you to send messages
immediately:
http://localhost/chatplugin/ui/example?channel_id=<channel_id>
You can now type a message in the text box and send it 🎉

Step 3: Use the HTTP API to list conversations
To see how messages are flowing through the system, list conversations for the channel you have just created. it should return the message you have just sent.

curl -XPOST http://localhost/conversations.list | jq .
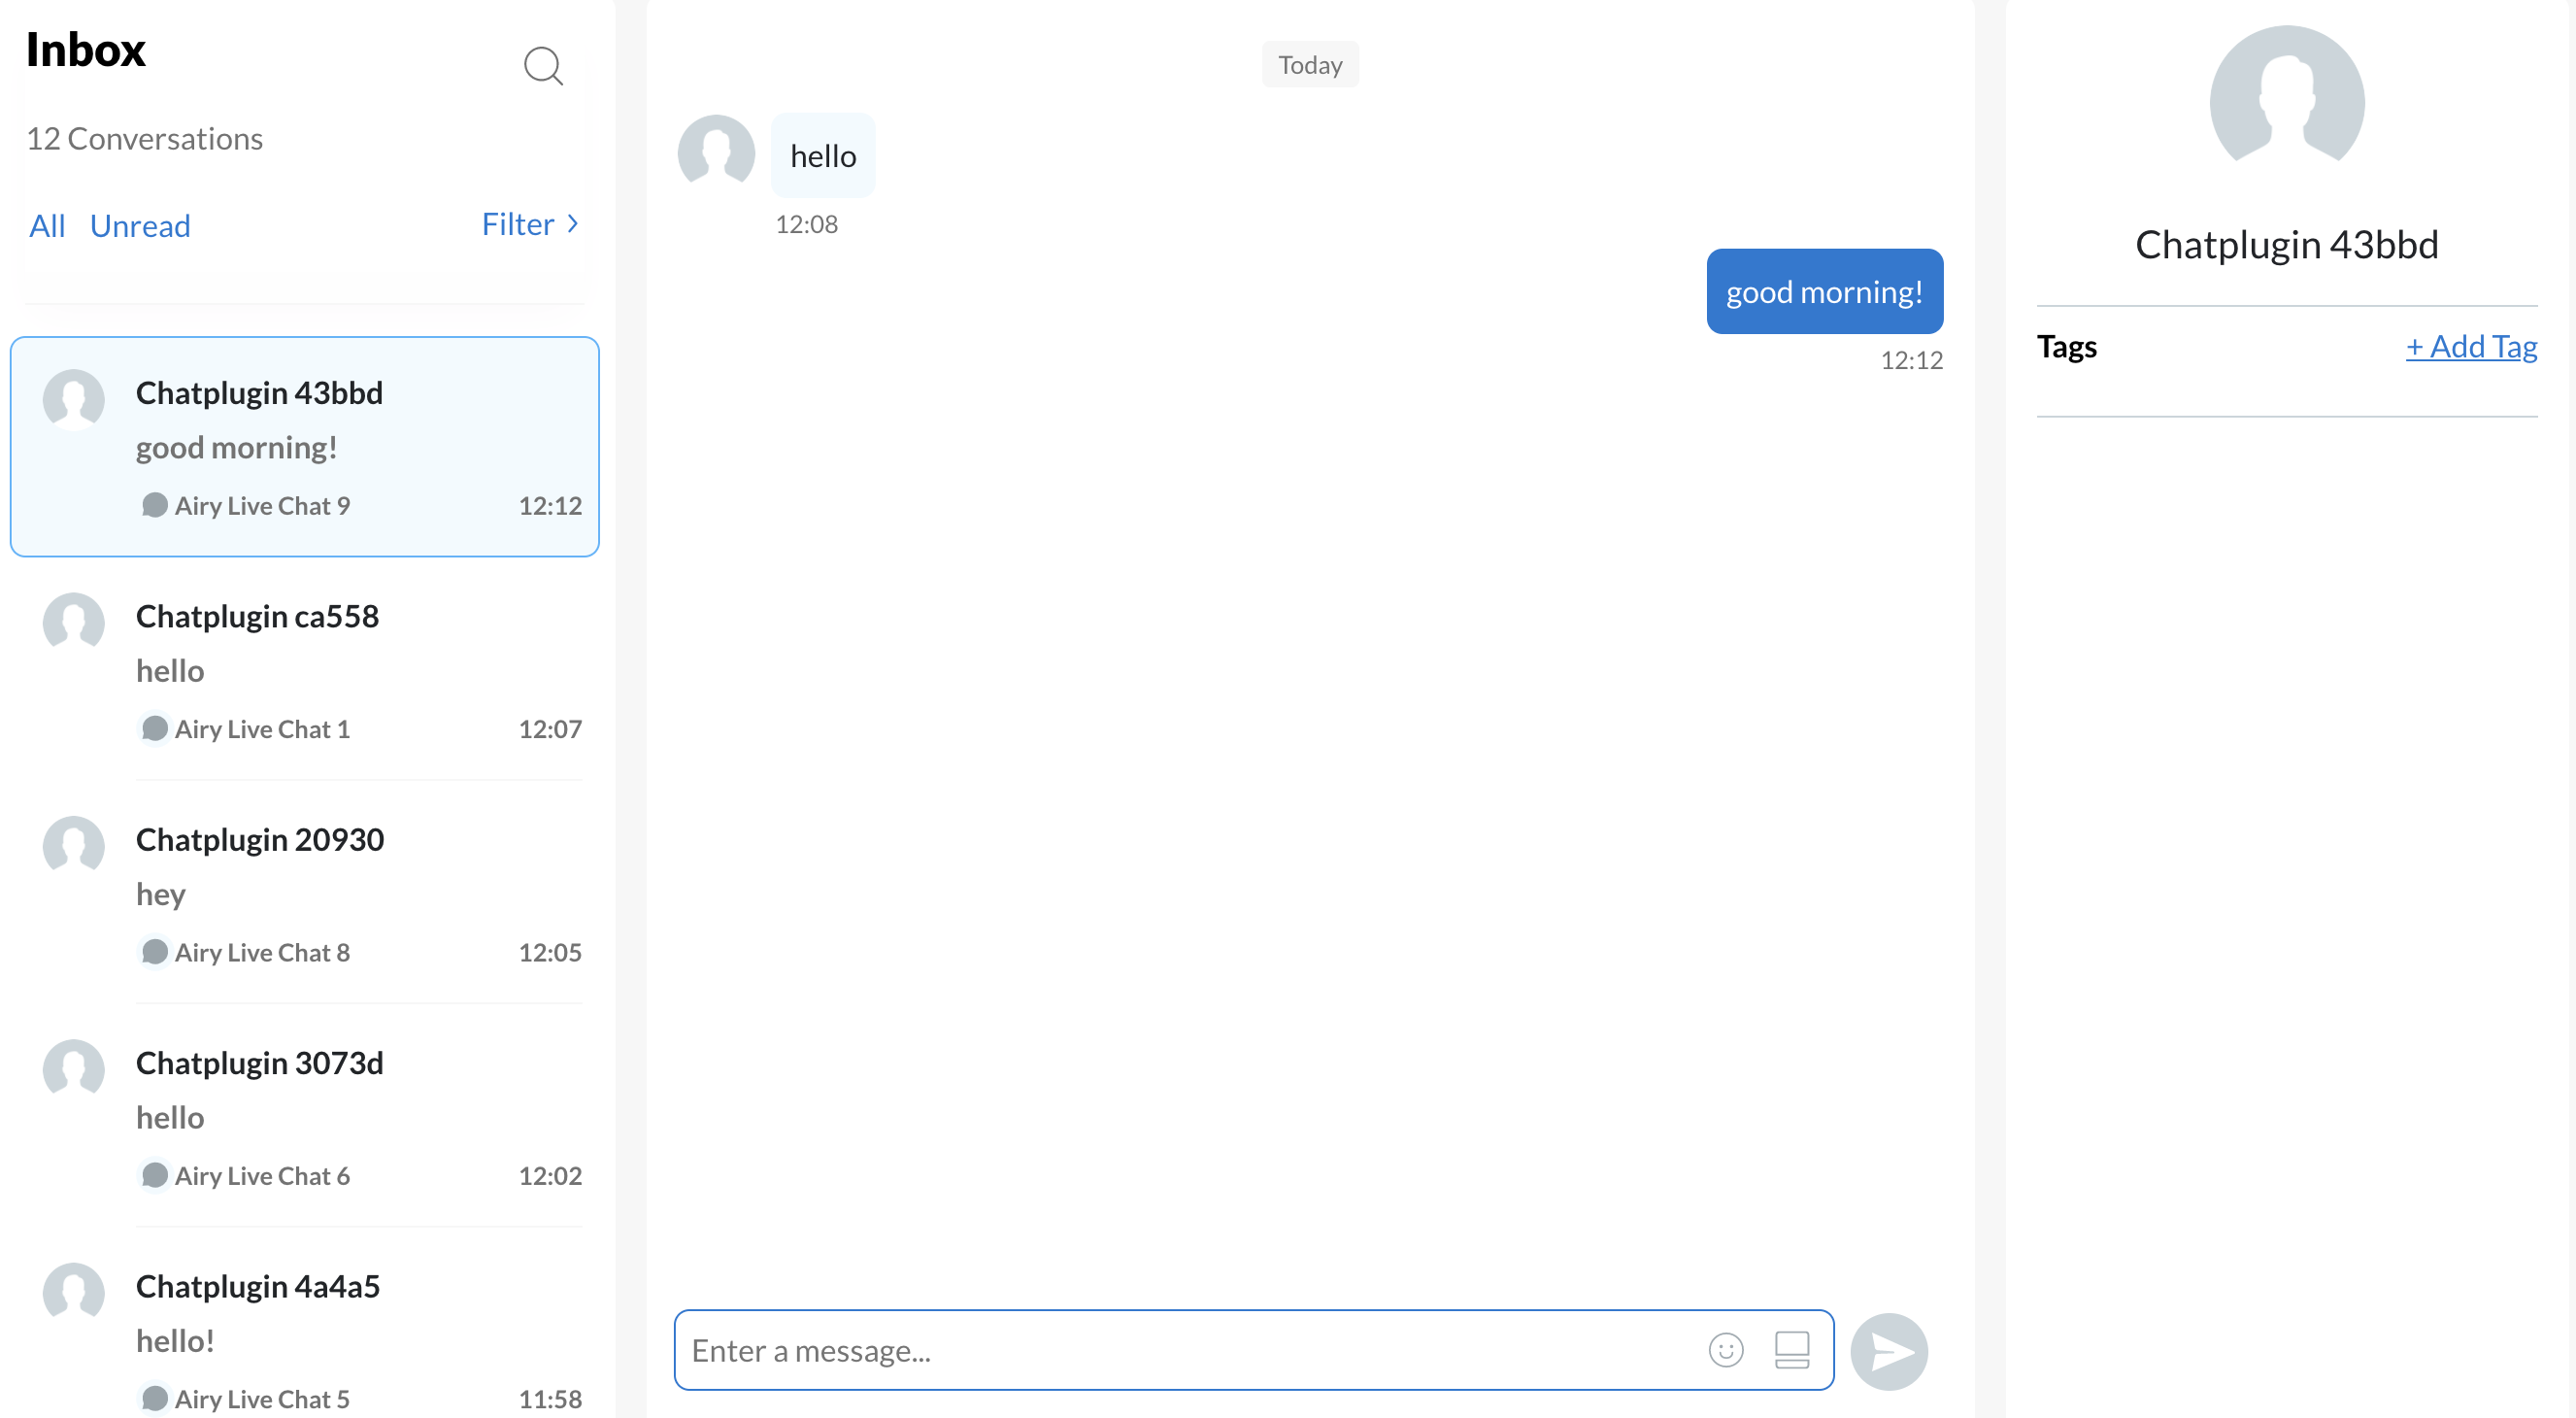
The Inbox UI lists all your conversations, across all sources.
The screenshot below shows a conversation list in the Inbox UI's messenger. In this example, all the conversations have been created by connecting an Airy Live Chat channel to an Airy Core instance.
Each time you connect a new channel, a new conversation is created and added in the Inbox UI's messenger. You can then use it to respond to messages.
Step 4: Consume directly from Apache Kafka
You can also consume the messages directly from the Kafka
application.communication.messages topic:
kubectl exec -it kafka-0 -- /bin/bash
kafka-console-consumer.sh \
--bootstrap-server kafka:9092 \
--topic application.communication.messages \
--from-beginning